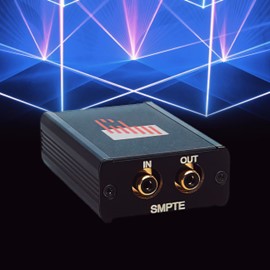
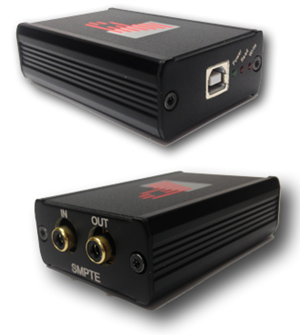
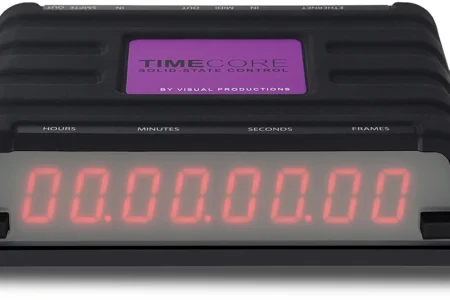
Für Lasershow Installationen, die eine Synchronisation mit anderen Medien wie Audio, Video, Pyrotechnik usw. erfordern, ist unsere neue TC4000 Hardware eine großartige Lösung. Der TC-4000 wird im Gegensatz zum älteren TC-2000 als Midi Controller erkannt. Zudem schreibt er neuerdings auch Timecode.
Pangolin’s Lasershow Timecode TC4000 Controller liest und schreibt den SMPTE Timecode, sobald er in Verbindung mit einem Beyond PC, oder jedem anderen Midi Timecode PC steht.
Der TC4000 Time Code Reader/Writer stellt eine Verbindung zu sämtlicher Software als MIDI-Gerät her und ermöglicht eine flexiblere Steuerung, sowie das Schreiben und Lesen vieler verschiedener Frameraten wie 24, 25 und 30 über linearen (Audio) Timecode (LTC). Im Lesemodus decodiert der TC4000 eingehenden LTC-Timecode und übergibt ihn z.B. an Laserdesigner Pangolin Beyond. Die Lasershow wird dann mit dem eingehenden Timecode verriegelt. Sobald der Timecode stoppt, stoppt die Lasershow. Sobald der Timecode erneut startet, wird auch die Lasershow erneut gestartet.
Das Handbuch bekommen Sie hier als PDF zum Download.
Video zur Installation
Setup Infos
Setup of TC4000
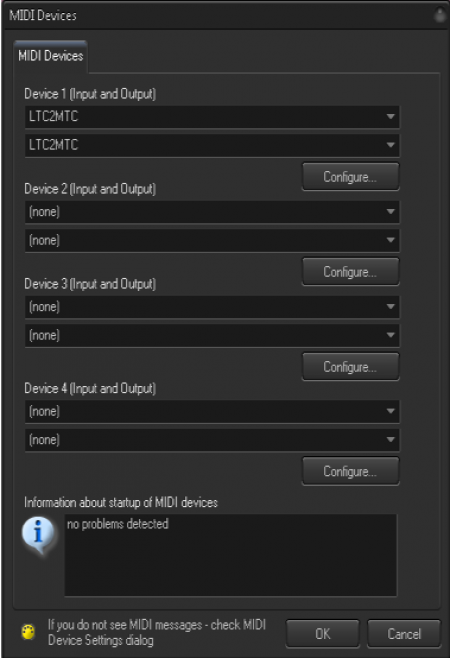
Click on the Main “Settings” menu and select MIDI Settings.
Select the MIDI Device “LTC4000”, or “LTC2MTC” depending on manufacture date into a device number.
Click Ok.
The Timecode for MIDI does not require any special configuration. the type of incoming timecode will be detected automatically
Confirmation of incoming timecode will be shown in the preview window and look like the figure above. The RGB LED on the TC4000 will turn RED.
If you have never used timecode before, next section is the setup for timecode overall.
Setup Of Timecode In BEYOND
Before you can use timecode In beyond at all, you will need to go into your configuration and setup all timecode settings the way you would like to use It.
To Setup:
Click on settings > Configuration
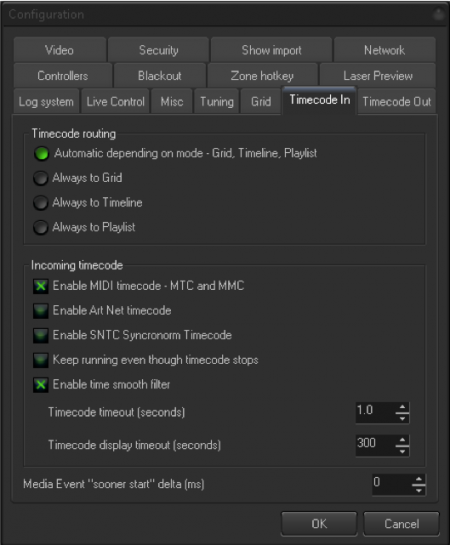
Click Timecode In
This will give you the window below.
Here you can choose settings for your timecode.
Under Incomming Timecode, you must Click “Enable MIDI Timecode – MTC and MMC” for TC4000 to work.
You can also enable other types of incomming timecode in this window.
Some Other Timecode options within this window are described below:
“Keep running even though timecode stops” – when this option enabled, BEYOND will continue the show playback even if the incoming timecode signal is lost, or stopped. This option allows the show to continue playback even if there are some drops in timecode signal. When this option is disabled, BEYOND will stop the show playback after 1 second of timecode signal timeout.
“Enable time smooth filter” – BEYOND can use the time (from timecode) directly. The time value coming from the Timecode Controller will be used over and over again until a new value has been received. An alternative solution is based on BEYOND detecting the timecode speed and following the time code as close as possible. In this situation, BEYOND will not just wait for next time code value, it will continue to play the show based on the Timecode speed it detected. As a result the time is always going forward and moves smoothly. The time smooth filter should be enabled in most cases, except when you need the show to within an exact time.
Setting up a timeline show to use Timecode in Beyond
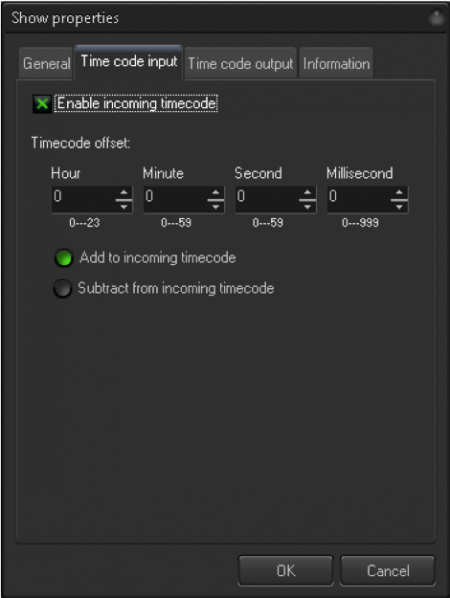
To enable time code within a timeline show, you must right click on the show tab, and click show properties. Then you can select timecode input.
Once “Enable incoming timecode” is clicked, the show will begin to follow incoming timecode.
This must be enabled for every timeline you want to follow timecode, be sure to save your showfile once you have enabled timecode on a show. This is also required if you save the show into a cue of the workspace. And in that case, the cue must be depressed to listen for timecode.
Once you click Okay, a new button on the top bar will be visible:
The TC-IN button has been added, this button when clicked, will have the show following timecode, when unclicked, the show will not react to timecode. This Is for both programming, and safety purposes.
Checklist for using Timecode in BEYOND with TC4000
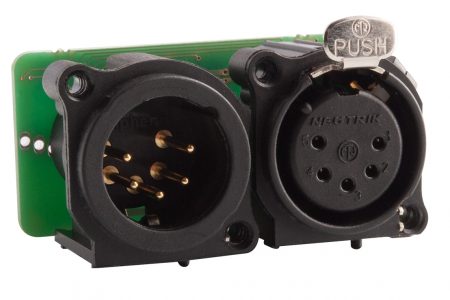
Ensure your timecode device is connected and configured, in TC4000’s case, you connect it over midi device settings.
Ensure that you see incoming timecode values (green text) In the preview panel.
Ensure that the timeline show properties have “enable Incoming timecode” clicked
Click on the TC-IN button before the start of sending Timecode data.
Important: Timeline shows ignore timecode If the time value is out of bounds.
BEYOND only allows for one source of Incoming timecode, this includes the timecode from Media in the timeline. If you have media in your timeline, like video or audio, and your Incoming timecode Is not perfect, you can have issues with synchronization. Due to this, it Is recommended that beyond output timecode and be the source if the main media file is coming from BEYOND and not another show master within the system.
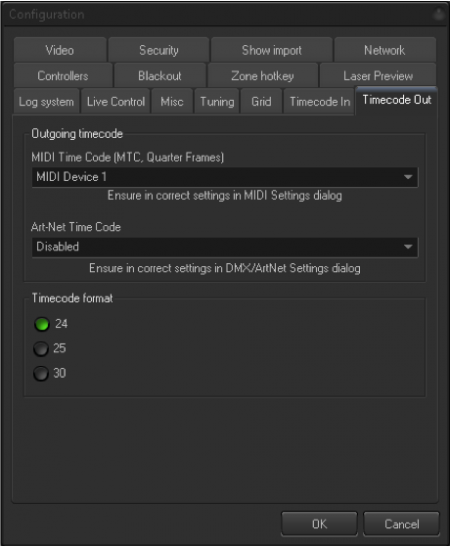
Timecode out with TC4000
To setup Timecode out with TC4000, go to Settings > Configuration > Timecode out.
Here you can select a midi device number (set to whatever device you set your TC4000 to in Midi settings window) and decide on a timecode format.
To output Timecode from a Timeline, you must: Click on a timeline show tab > Right click > show Properties > Time code output and click “Enable outgoing timecode”
Then when you play the show, you should output timecode on the same timeframe that your show Is.